Why Use CIFilter for QR Codes on macOS?
Before reaching for a third-party QR library, consider what Apple already ships in the box. Core Image — available since macOS 10.4 — includes a dedicated QR code generator filter that is GPU-accelerated, maintained by Apple, and present on every macOS, iOS, iPadOS, and visionOS device. For most app use cases, it is the right starting point.
The trade-offs are well-defined. CIFilter gives you clean, standards-compliant QR code bitmaps with control over error correction level. It does not give you SVG output, fine-grained module shapes, or dot-style rendering — those require either a third-party library or custom drawing code on top of the Core Image output. For a comparison of the full range of programmatic approaches on Swift, see our guide to generating QR codes in Swift.
CIFilter is part of the Core Image framework. On macOS you import CoreImage. On iOS/iPadOS the same import works. CIQRCodeGenerator is available from macOS 10.9 / iOS 7 onwards. No entitlements or capabilities are required.
For the technical specification of the QR code standard itself — version sizes, module counts, data capacity by encoding mode — see our QR code technical specifications pillar guide. This article focuses purely on the Core Image implementation path.
CIQRCodeGenerator Basics
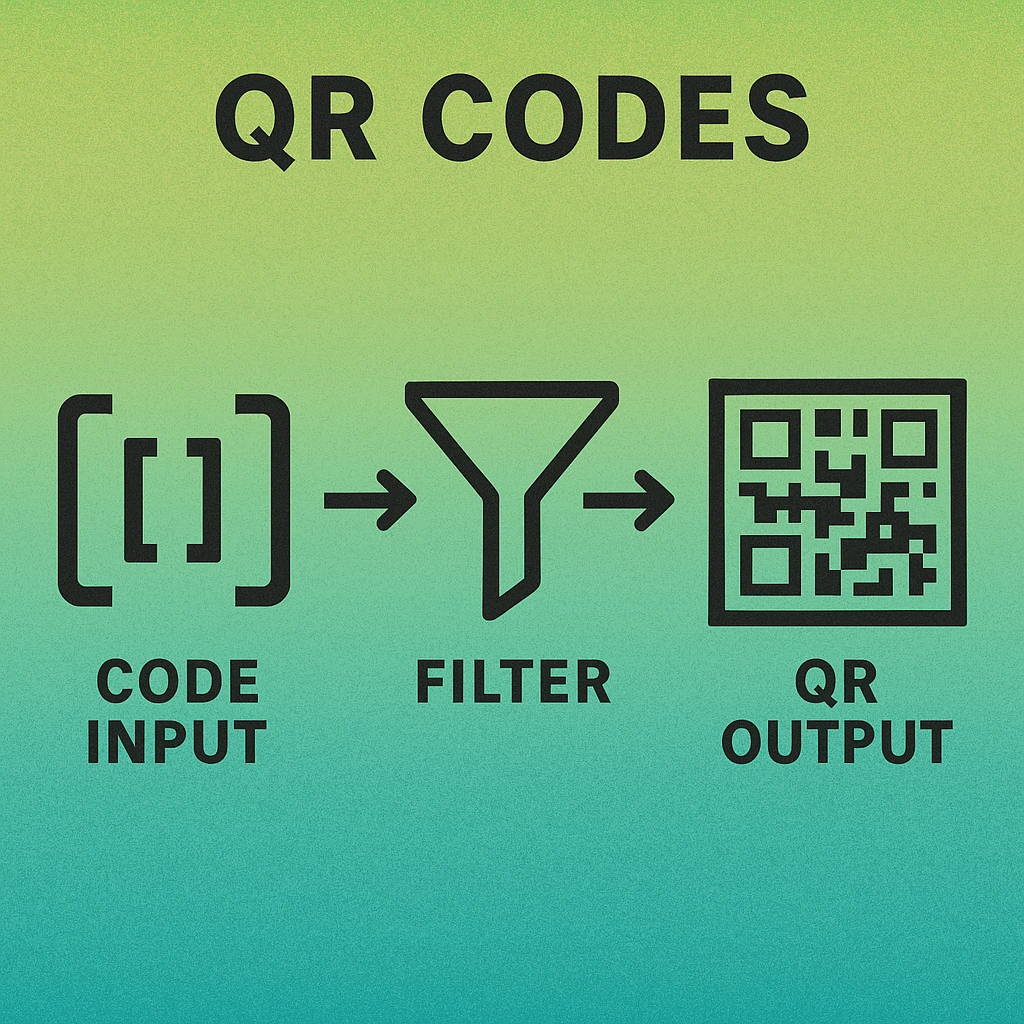
The filter name is the string "CIQRCodeGenerator". It accepts two inputs: inputMessage (a Data value, UTF-8 encoded) and inputCorrectionLevel (a String). Its output is a CIImage where each pixel represents exactly one QR module — so a Version 3 code (29×29 modules) produces a 29×29 pixel image.
import CoreImage

func generateQRCode(from string: String) -> CIImage? {
    guard let data = string.data(using: .utf8) else { return nil }

    let filter = CIFilter(name: "CIQRCodeGenerator")
    filter?.setValue(data, forKey: "inputMessage")
    filter?.setValue("M", forKey: "inputCorrectionLevel")

    return filter?.outputImage
}
The returned CIImage is in the kCIFormatARGB8 colour space with black modules on a white background. At this point the image is far too small to display — you need to scale it before rendering. We cover scaling in the CIAffineTransform section below.
Always encode your string as .utf8 before passing it to inputMessage. The filter accepts Data, not String directly. Non-UTF-8 characters will silently produce an empty or malformed code. Test with your full payload including any special characters before shipping.
Error Correction Parameter
The inputCorrectionLevel key maps directly to the four QR error correction levels defined in ISO/IEC 18004. Choosing the right level is one of the most consequential decisions in your pipeline — it controls both how resilient the code is to damage and how much data capacity each QR version can hold.
| Level | Key Value | Recovery Capacity | Data Capacity | Recommended When |
|---|---|---|---|---|
| L — Low | "L" |
~7% | Highest | Clean digital environments, maximum data density |
| M — Medium | "M" |
~15% | High | General-purpose default; good balance |
| Q — Quartile | "Q" |
~25% | Medium | Print materials, light wear expected |
| H — High | "H" |
~30% | Lower | Logo overlay, outdoor signage, heavy wear |
If you are overlaying a logo on the rendered QR code, always use "H". The logo occludes up to 30% of the code; level H is the only setting that guarantees recovery. For plain URL codes displayed on screen, "M" is the sensible default. The full technical rationale is covered in our technical specifications guide.
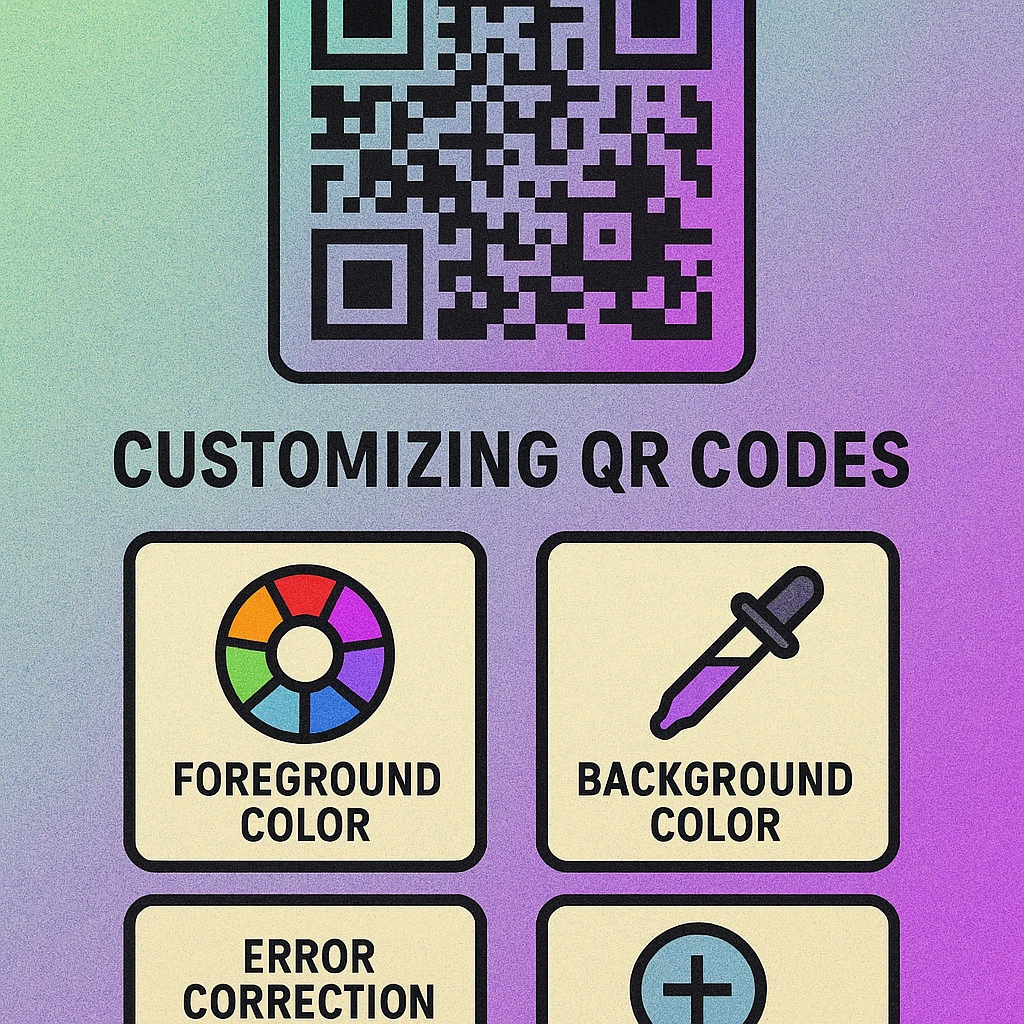
Custom Colors with CIFalseColor
CIQRCodeGenerator outputs a binary black-and-white image. To apply custom module and background colors, chain a CIFalseColor filter immediately after. CIFalseColor maps the two extremes of the image (black at 0.0 and white at 1.0) to any two CIColor values you specify via inputColor0 (replaces black/dark modules) and inputColor1 (replaces white/background).
func coloredQRCode(from string: String,
                   moduleColor: CIColor,
                   backgroundColor: CIColor) -> CIImage? {
    guard let data = string.data(using: .utf8) else { return nil }

    // Step 1: Generate base QR code
    let generator = CIFilter(name: "CIQRCodeGenerator")
    generator?.setValue(data, forKey: "inputMessage")
    generator?.setValue("H", forKey: "inputCorrectionLevel")
    guard let qrImage = generator?.outputImage else { return nil }

    // Step 2: Apply false color
    let colorFilter = CIFilter(name: "CIFalseColor")
    colorFilter?.setValue(qrImage, forKey: "inputImage")
    colorFilter?.setValue(moduleColor,     forKey: "inputColor0") // dark modules
    colorFilter?.setValue(backgroundColor, forKey: "inputColor1") // background

    return colorFilter?.outputImage
}
One important constraint: always verify contrast between your two chosen colors before shipping. The QR standard recommends a minimum contrast ratio of 3:1 between modules and background. Anything below 2.5:1 is likely to fail on low-end cameras or in challenging lighting. Light-on-dark schemes (pale modules on dark backgrounds) work, but dark-on-light always scans more reliably. See the Mac QR code generator guide for practical colour pairing recommendations.
Scaling with CIAffineTransform
A 29×29 pixel QR image displayed in a 200×200 pt view will be upscaled by the system using bilinear interpolation — producing a blurry, antialiased result that looks terrible and can even reduce scan reliability on some decoders. The correct approach is to apply a CIAffineTransform with a uniform scale factor before converting to NSImage, keeping pixels sharp and aligned.
import CoreImage
import AppKit

func scaledQRImage(_ ciImage: CIImage, scale: CGFloat) -> CIImage {
    let transform = CGAffineTransform(scaleX: scale, y: scale)
    let scaleFilter = CIFilter(name: "CIAffineTransform")
    scaleFilter?.setValue(ciImage, forKey: kCIInputImageKey)
    scaleFilter?.setValue(NSValue(nonretainedObject: NSAffineTransform()),
                          forKey: kCIInputTransformKey)
    // Direct CGAffineTransform approach (macOS 10.15+)
    return ciImage.transformed(by: transform)
}
A scale factor of 10 turns a 29×29 source into a 290×290 pixel image — clean, sharp, and large enough for most UI contexts. For Retina displays, use a factor of 20 to produce 580×580 pixels, matching @2x resolution. Because CIFilter operations are lazy, the scale transform adds no compute cost until you actually render to a bitmap context.
Choose your scale factor so the final pixel size is at least 10× the module count in each dimension. For a Version 3 code (29 modules): scale ≥ 10 gives 290 px minimum. Always pass scale: NSScreen.main?.backingScaleFactor ?? 2.0 as an additional multiplier when generating images destined for on-screen display.
Rendering to NSImage
Once the filter pipeline is assembled — generator → false color → scale transform — you need a CIContext to materialise the CIImage into an NSImage that AppKit views and the clipboard can consume. Creating a CIContext is expensive; cache it as a property rather than instantiating it on every call.
import CoreImage
import AppKit

final class QRCodeRenderer {
    private let context = CIContext(options: [.useSoftwareRenderer: false])

    func nsImage(for string: String,
                 size: CGFloat = 300,
                 moduleColor: CIColor = .black,
                 backgroundColor: CIColor = .white) -> NSImage? {

        guard let data = string.data(using: .utf8) else { return nil }

        // 1. Generate
        let gen = CIFilter(name: "CIQRCodeGenerator")!
        gen.setValue(data, forKey: "inputMessage")
        gen.setValue("H",  forKey: "inputCorrectionLevel")
        guard let raw = gen.outputImage else { return nil }

        // 2. Colorize
        let colorizer = CIFilter(name: "CIFalseColor")!
        colorizer.setValue(raw,             forKey: "inputImage")
        colorizer.setValue(moduleColor,     forKey: "inputColor0")
        colorizer.setValue(backgroundColor, forKey: "inputColor1")
        guard let colored = colorizer.outputImage else { return nil }

        // 3. Scale to target size
        let scaleX = size / colored.extent.width
        let scaled  = colored.transformed(by: CGAffineTransform(scaleX: scaleX, y: scaleX))

        // 4. Render to CGImage then NSImage
        guard let cgImage = context.createCGImage(scaled, from: scaled.extent) else { return nil }
        return NSImage(cgImage: cgImage, size: NSSize(width: size, height: size))
    }
}
Skip the Code — Generate Instantly
Our free web generator handles colors, logos, and formats without a single line of Swift. Or grab the Mac app for offline generation.
SwiftUI Integration
Wrapping the QRCodeRenderer in a SwiftUI view is straightforward. The key decisions are: where to run the generation (main thread for short payloads, background Task for large or frequently-updating inputs) and whether to make the view reactive to input changes.
import SwiftUI

struct QRCodeView: View {
    let content: String
    var size: CGFloat = 280
    var moduleColor: Color = .black
    var backgroundColor: Color = .white

    @State private var qrImage: NSImage?
    private let renderer = QRCodeRenderer()

    var body: some View {
        Group {
            if let img = qrImage {
                Image(nsImage: img)
                    .interpolation(.none)  // prevents blur on display
                    .resizable()
                    .scaledToFit()
                    .frame(width: size, height: size)
            } else {
                ProgressView()
                    .frame(width: size, height: size)
            }
        }
        .task(id: content) {
            qrImage = await Task.detached(priority: .userInitiated) {
                renderer.nsImage(
                    for: content,
                    size: size,
                    moduleColor: CIColor(color: NSColor(moduleColor))!,
                    backgroundColor: CIColor(color: NSColor(backgroundColor))!
                )
            }.value
        }
    }
}
Note the .interpolation(.none) modifier on the SwiftUI Image. Without it, SwiftUI applies bicubic interpolation when displaying the image at a different size than its pixel dimensions, reintroducing the blurriness that the scale transform was designed to eliminate. This single modifier is the most commonly missed step when wiring CIFilter output into SwiftUI views.
For a broader comparison of QR generation approaches on Mac — including AppKit-only paths and third-party libraries — see our QR code generator for Mac guide.
Full Pipeline Checklist
Encode input as UTF-8 Data before passing to inputMessage. Never pass a raw String.
Set inputCorrectionLevel explicitly. Default is "M"; use "H" if adding a logo overlay.
Chain CIFalseColor for custom colors. Map inputColor0 to modules and inputColor1 to background. Verify contrast ≥ 3:1.
Scale with CIAffineTransform (or CIImage.transformed(by:)) to at least 10× module count in each dimension.
Cache the CIContext as a class property. Creating one per render is a significant performance hit.
Use .interpolation(.none) in SwiftUI Image views to prevent the system from blurring the sharp pixel-art output.
CIQRCodeGenerator is the zero-dependency path for QR code generation on all Apple platforms. Chain CIFalseColor for brand colors, apply a scale transform to avoid blur, cache your CIContext, and use .interpolation(.none) in SwiftUI. For SVG output, module-shape customisation, or batch generation, supplement with a dedicated library as described in our Swift QR code generation guide.
Frequently Asked Questions
CIQRCodeGenerator is a built-in Core Image filter (CIFilter subclass) available on macOS 10.9+ and iOS 7+. It accepts a UTF-8 encoded Data payload and an error correction level string, and returns a CIImage containing a pixel-perfect QR code at 1 pixel per module. No third-party libraries are required.
Use CIFalseColor after CIQRCodeGenerator. Set inputColor0 to your desired dark-module color (typically your brand color as a CIColor) and inputColor1 to your background color. CIFalseColor replaces the binary black-and-white output with any two colors you choose. Always verify sufficient contrast between the two colors before use.
CIQRCodeGenerator produces a tiny CIImage at 1 pixel per module. Displaying this without upscaling causes blurriness because the system applies bilinear interpolation. Apply a scale transform (CIAffineTransform or CIImage.transformed(by:)) with a factor of at least 10× before converting to NSImage, and use .interpolation(.none) in SwiftUI Image views to prevent re-blurring at display time.
CIQRCodeGenerator accepts four values: "L" (7% recovery), "M" (15%), "Q" (25%), and "H" (30%). For QR codes that will include a logo overlay, use "H". For plain URL codes where compactness matters, "M" is the sensible default. The "H" level produces a larger, denser code but recovers from up to 30% module damage.
Yes. Convert the final CIImage to an NSImage (macOS) or UIImage (iOS/iPadOS), then wrap it in a SwiftUI Image view using Image(nsImage:) or Image(uiImage:). Always add .interpolation(.none) to the Image modifier chain. For reactive generation, use a .task(id: input) modifier with a detached Task to offload rendering from the main thread.