What Is QR Code Error Correction?
QR code error correction is a data-recovery mechanism built into every QR code. It allows a scanner to read the code correctly even when part of the pattern is damaged, dirty, or obscured. Without it, a single scratch across a QR code could make the entire thing unreadable.
The technology behind this is called Reed-Solomon error correction, the same class of algorithms used in CDs, DVDs, satellite communications, and deep-space transmissions. When a QR code is generated, the encoder doesn't just store your data — it also calculates and appends extra "error correction codewords" that act as a mathematical safety net.
When a scanner reads a QR code, it doesn't just decode the data — it checks the error correction codewords against the data codewords. If some modules (the individual black and white squares) are missing or misread, the algorithm uses the redundant information to reconstruct the original data. The more error correction codewords stored, the more damage the code can survive.
Error correction is not optional — it is part of the QR code specification (ISO/IEC 18004). Every QR code ever created has some level of error correction built in. The choice you make is how much protection to include.
This concept is explained further in our complete QR code guide, which covers the full anatomy of a QR code including finder patterns, timing patterns, and data regions.
The Four Error Correction Levels
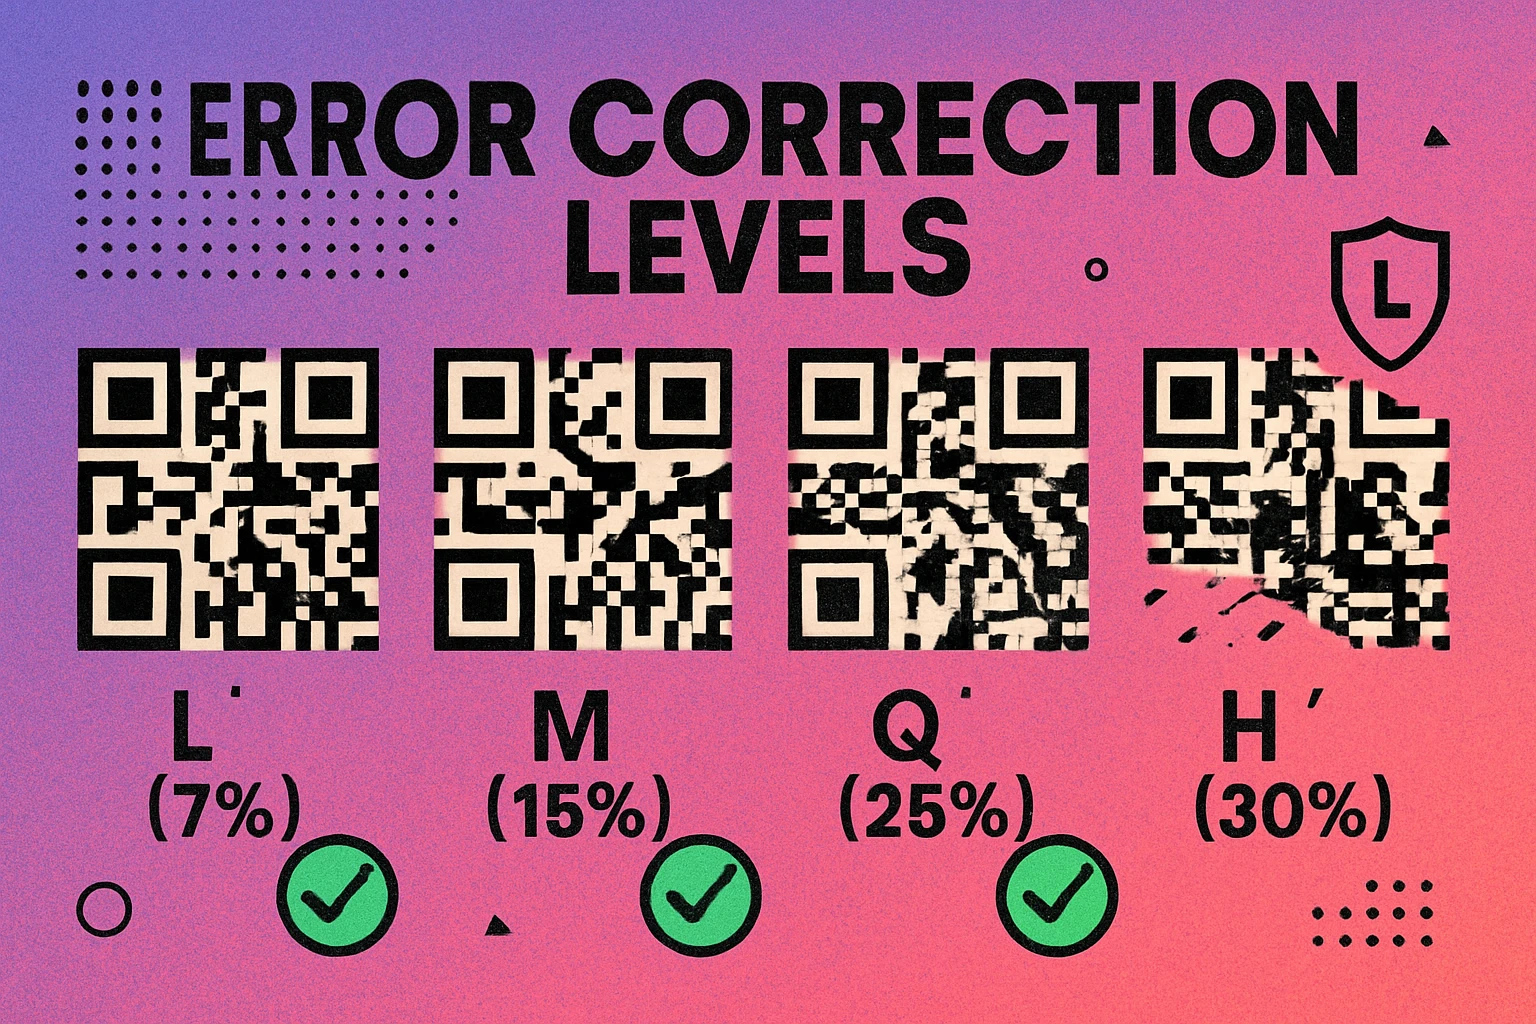
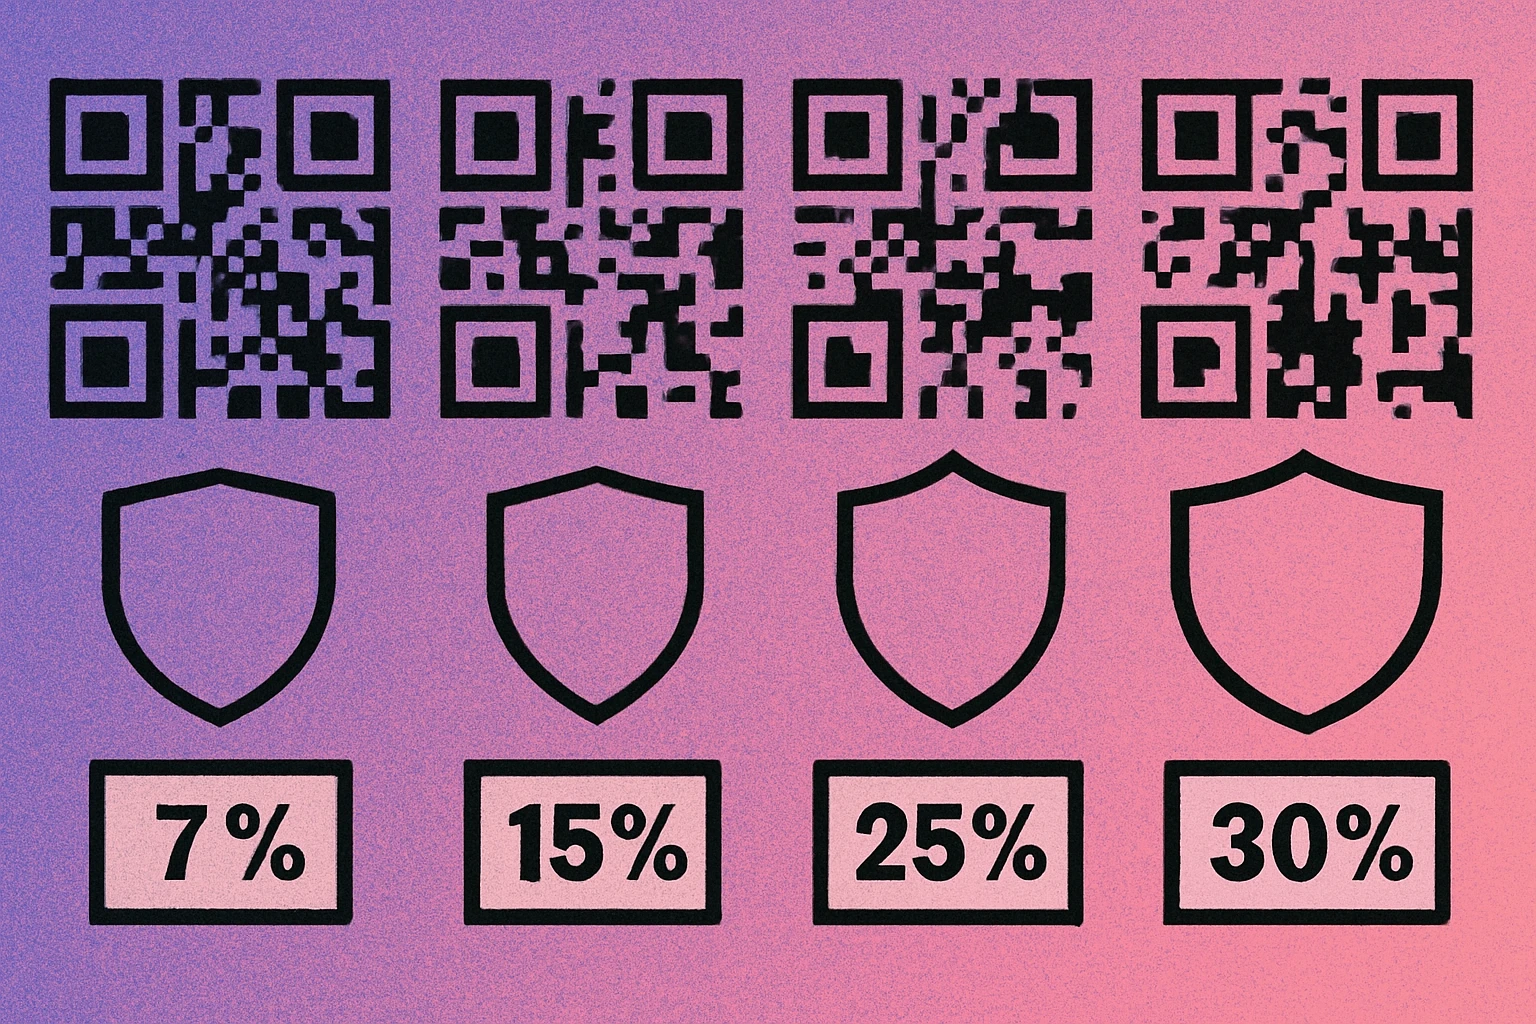
The QR code standard defines exactly four error correction levels. Each one specifies the maximum percentage of the code's data area that can be damaged or lost while the code remains fully scannable:
| Level | Name | Recovery Capacity | Data Overhead | Best For |
|---|---|---|---|---|
| L | Low | ~7% | Minimal | Clean, controlled environments |
| M | Medium | ~15% | Moderate | General-purpose (most common) |
| Q | Quartile | ~25% | Significant | Outdoor or industrial settings |
| H | High | ~30% | Maximum | Logo overlays, harsh conditions |
Level L (Low) recovers approximately 7% of damaged data. This produces the smallest, least dense QR code for any given content. It is ideal when the code will be displayed on screens or in pristine indoor environments where physical damage is unlikely.
Level M (Medium) recovers approximately 15% and is the default for most QR code generators. It provides a good balance between code size and resilience, making it the right choice for the majority of everyday use cases — business cards, posters, product packaging.
Level Q (Quartile) recovers approximately 25%. This level is designed for environments where the code may get dirty, scratched, or partially covered — think factory floors, outdoor signage, or construction sites. If your code might face wear and tear, Q gives you a strong buffer.
Level H (High) recovers approximately 30% of the code's data. This is the maximum protection available and the level you need when placing a logo or graphic over the center of a QR code. It is also the right choice for codes exposed to extreme conditions: outdoor weather, industrial environments, or high-traffic areas where physical damage is expected.
Level M handles most situations well. Only step up to Q or H when you have a specific reason: logo overlays, harsh physical environments, or codes that will be printed very small and handled frequently.
How Error Correction Works Under the Hood
When a QR code generator encodes your data, the process works in several steps. First, the input (a URL, text, or other data) is converted into a binary stream and split into data codewords — each codeword is an 8-bit byte. Then, the Reed-Solomon algorithm takes those data codewords and generates additional error correction codewords.
Think of it like this: if you wrote a message on a page, error correction is like writing the same message again in a coded form on the back. If someone tears a corner off the page, you can reconstruct the missing words from the backup.
Reed-Solomon in Practice
Reed-Solomon codes work by treating each codeword as a point on a polynomial curve. Given enough points, you can reconstruct the entire curve even if some points are missing or incorrect. The more error correction codewords you add, the more points you have on that curve, and the more damage you can tolerate.
For a concrete example: a Version 2 QR code (25×25 modules) encoding a short URL at Level L contains 34 data codewords and 10 error correction codewords. At Level H, the same version contains 16 data codewords and 28 error correction codewords. The total capacity stays the same — what changes is how that capacity is divided between your actual data and the safety net. This directly affects how much content you can encode, which is why our QR code data capacity guide covers this trade-off in detail.
The scanner reverses this process. It reads all the codewords it can, checks them against the error correction data, and if it detects errors or missing values, it uses the polynomial mathematics to fill in the gaps. This all happens in milliseconds — the user never notices.
Generate a QR Code with Custom Error Correction
Choose your error correction level, paste your content, and download a print-ready PNG or SVG instantly.
Choosing the Right Error Correction Level
The right level depends on where and how the QR code will be used. Here is a practical breakdown:
Use Level L When...
- The code appears on a digital screen (website, app, digital signage) where no physical damage is possible.
- You need to encode a large amount of data and want to keep the code as compact as possible.
- The scanning environment is controlled and clean.
Use Level M When...
- You are creating a general-purpose QR code for business cards, flyers, posters, or product packaging.
- The code will be printed on paper or cardstock and handled in normal conditions.
- You are not sure which level to pick — M is the safe default.
Use Level Q When...
- The code will be used in outdoor or industrial environments where dirt, moisture, or scratches are likely.
- The code is printed on materials that may degrade over time (e.g., stickers on equipment, warehouse labels).
- You want extra peace of mind for codes that are expensive or difficult to replace.
Use Level H When...
- You plan to overlay a logo or icon on the QR code (see the section below).
- The code faces extreme conditions: construction sites, outdoor signage exposed to weather, or packaging that gets thrown around in shipping.
- The code is mission-critical and scanning failure would have serious consequences.
If you are experiencing scan issues with your existing codes, our QR code not scanning troubleshooting guide walks through the most common causes, including error correction being too low for the use case.
Error Correction and Logo Overlays
One of the most common reasons people care about error correction is adding a logo to a QR code. When you place a graphic over the center of a QR code, you are physically destroying some of the modules. The code can still scan — but only if the error correction level is high enough to compensate for the missing data.
Why Level H Is Required for Logos
A logo placed in the center of a QR code typically covers 10–20% of the data area. At Level L (7% recovery), even a small logo would exceed the code's ability to self-correct. At Level M (15%), a modest logo might work, but you are operating with almost no safety margin — any additional dirt or printing imperfection could push it over the edge.
Level H (30% recovery) gives you enough headroom to cover the logo and still tolerate minor physical damage on top of it. This is why every reputable guide on QR code branding recommends Level H for logo overlays. For a detailed walkthrough of the design process, see our guide to adding a logo to your QR code.
Always use Level H when adding a logo. Keep the logo to no more than 20–25% of the total code area, center it precisely, and test the code on multiple devices before printing. Even at Level H, an oversized logo will break the code.
Logo Placement Tips
- Center the logo. The center of a QR code contains data modules but not the critical finder patterns (the three large squares in the corners). Covering the center is less destructive than covering edges or corners.
- Use a solid background behind the logo. A clean white or light background behind your graphic creates a clear boundary between the logo and the surrounding modules, making it easier for scanners to distinguish data from decoration.
- Always test after adding the logo. Generate the code at Level H, add your logo, and scan it with at least three different devices. A code that works on one phone may fail on another if the margins are tight.
Error Correction and QR Code Size
There is a direct relationship between error correction level and the physical size of a QR code. Higher error correction means more codewords, which means more modules in the grid, which means the code must be printed larger to remain scannable.
The Trade-Off
For the same content — say, a 40-character URL — a Level L code might fit into a Version 3 grid (29×29 modules), while the same URL at Level H could require a Version 5 grid (37×37 modules). That is 1,369 modules versus 841 — a 63% increase in the number of squares the scanner needs to read.
More modules in the same physical space means each individual module is smaller. Smaller modules are harder for cameras to resolve, especially at a distance or in poor lighting. This is why choosing a higher error correction level than you actually need can backfire: the denser code may become harder to scan at the intended viewing distance.
Our QR code size guide provides specific minimum dimensions for print at each version level, so you can calculate the physical size your code needs to be before sending it to the printer.
Higher error correction is not always better. It increases code density, which requires a larger print size. Choose the lowest level that meets your actual needs: L for screens, M for general print, Q for harsh environments, H for logos or extreme conditions.
Practical Sizing Rules
- Each module should be at least 0.75 mm (0.03 in) wide for reliable scanning at close range.
- For scanning distances beyond arm's length, follow the 10:1 rule — the code should be at least 1/10th of the scanning distance in width.
- If your code is at Level H and feels too dense, consider shortening the encoded URL or dropping to Level Q (if you are not using a logo).
Frequently Asked Questions
QR code error correction is a built-in feature that adds redundant data to the code using Reed-Solomon algorithms. This allows scanners to reconstruct the original information even if part of the QR code is damaged, dirty, or obscured. There are four levels: L (7%), M (15%), Q (25%), and H (30%), representing the maximum percentage of the code that can be lost while remaining scannable.
Use Level H (High) when placing a logo over your QR code. Level H can recover up to 30% of lost data, which provides enough redundancy to compensate for the modules obscured by the logo. Keep the logo to no more than 20–25% of the code area and always test the code after adding the logo.
Yes. Higher error correction levels add more redundant data codewords, which increases the total number of modules (black and white squares) in the code. For the same content, a QR code at Level H will have a denser grid than one at Level L. This means higher error correction codes need to be printed at a larger physical size to remain scannable.
Most QR code generators default to Level M (Medium), which recovers up to 15% of damaged data. This is a solid general-purpose choice that balances data protection with code density. If your generator does not let you choose a level, it is almost certainly using Level M.