Why Graphic Designers Need More from a QR Generator
Most QR code generators are built for speed, not craft. They output a 300×300 PNG, offer a colour picker if you are lucky, and call it done. That is fine if you just need a code to paste into a slide deck. It is nowhere near enough if you are designing a packaging dieline, a brand identity system, or a multi-page print campaign where the QR code is a deliberate design element.
Designers need vector output that scales without blurring, exact brand colour control down to the hex value, and files that drop cleanly into Figma, Illustrator, and InDesign without extra steps. The Mac QR code generator is the starting point for this workflow — this article covers the design-specific layer on top of it.
This article is part of the Mac App & Desktop cluster. The techniques described assume access to a native Mac QR generator with SVG export. The online generator at generateonlineqr.com covers the same colour and style options if you prefer a browser-based workflow.
Brand Colour Matching in QR Codes
The single most common designer frustration with QR codes is colour. A brand's primary navy is not just "dark blue" — it is #0A2240, and the difference between that and a generic dark blue on a printed piece is immediately visible to anyone who knows the brand. QR generators that offer only a generic colour wheel, or worse a fixed palette of eight colours, are unusable in a professional context.
How Colour Affects Scannability
QR scanners work by detecting contrast between dark modules and a light background. The minimum safe contrast ratio is 3:1, but for styled or coloured codes, 4.5:1 is the practical floor. That means you can use a wide range of brand colours as long as you maintain sufficient luminance difference between the module colour and the background colour.
Practical rules for brand colour QR codes:
- Use the brand's darkest primary colour for modules and a light neutral (white, cream, light grey) for the background.
- Never use two colours of similar perceived brightness — a deep teal on a navy background fails even if both feel "dark".
- Avoid red modules on a white background for large-format print — some older scanner algorithms de-prioritise the red channel.
- If the brand palette is predominantly light, consider inverting: light modules on a dark brand-colour background. Test thoroughly, as this approach is less universally supported than dark-on-light.
Enter your brand's exact hex code directly in the colour field rather than eyeballing the picker. A 5-point luminance difference between the specified brand colour and a visually similar one can matter at small print sizes. See the full guide on custom QR code design for a colour contrast reference table.
| Colour Approach | Scan Reliability | Brand Fidelity | Best Context |
|---|---|---|---|
| Black on white | Excellent | None | Technical / industrial |
| Dark brand colour on white | Very good | High | Consumer packaging, print |
| Dark brand colour on light brand colour | Good (test required) | Very high | Premium print, events |
| Light on dark (inverted) | Good (test required) | High | Dark packaging, screen display |
| Gradient modules | Risky | Very high visually | Digital / screen only |
SVG Export: Why It Matters for Vector Tools
PNG QR codes are raster images. Scale one beyond its generated resolution and the module edges become fuzzy. At large-format sizes — A1 posters, exhibition banners, vehicle wraps — a 1000×1000 PNG QR code will be visibly degraded, and module edge blur directly reduces scan reliability.
SVG QR codes are defined as mathematical paths. Every module edge is a vector curve or polygon, which means the file renders at perfect sharpness at any size — from a 15mm label to a 3-metre billboard. The file size is also typically smaller than a high-resolution PNG, and it embeds cleanly in any vector application without any intermediate rasterisation step.
For designers working in print production, SVG export is not a nice-to-have — it is a requirement. Any QR code going to a commercial printer should be supplied as a vector. When you supply a raster PNG to a prepress department, it will almost certainly be flagged for low effective resolution at the placed size.
The QR code SVG export guide covers the technical details of SVG structure, how to verify a clean export, and how to handle colour definitions inside the SVG file for consistent output across tools.
Figma, Illustrator, and InDesign Integration
Each major design tool handles QR code placement differently. Here is the recommended workflow for each.
Figma
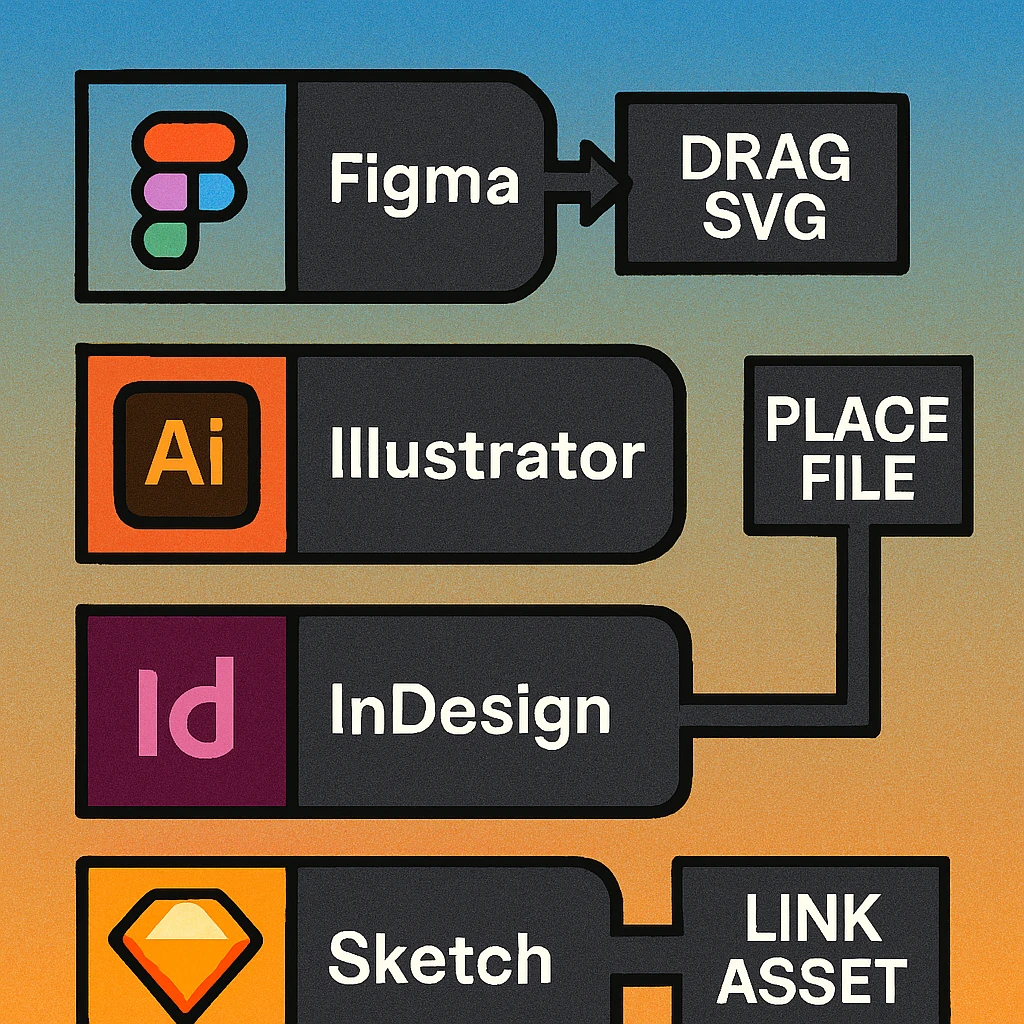
Drag and drop the SVG directly onto a Figma canvas, or use File > Place image (Figma accepts SVG via the place dialog in addition to drag-and-drop). Once placed, the SVG is a frame containing vector paths. You can ungroup and edit individual module paths if needed, though this is rarely necessary. Keep the QR code as a component if it appears across multiple artboards so that any URL change only requires updating one master.
Adobe Illustrator
Use File > Place (Shift+Cmd+P) and check Link if you want the SVG to remain a live external file, or uncheck Link to embed it. For packaging dielines and print production, embedding is usually preferable as it keeps the file self-contained. Once embedded, you can expand the SVG group and work with individual module paths. Set colour swatches to global swatches to allow brand colour updates across all placed instances at once.
Adobe InDesign
Place the SVG using File > Place (Cmd+D). InDesign renders SVGs as vectors in both print and PDF export. When exporting PDF for print, ensure your export preset is set to High Quality Print or PDF/X-1a — both preserve vector data. Avoid using JPEG compression on vector frames. If the QR code appears in a master page, it will export correctly across all document pages where the master is applied.
InDesign does not support direct SVG editing, but it renders placed SVGs at full vector fidelity in both screen preview and print/PDF output. If you need to edit module colours after placement, do it in Illustrator, save, and let InDesign update the linked file automatically.
Logo Overlay and Error Correction
Adding a brand logo to the centre of a QR code is one of the most common designer requests — and one of the most misunderstood technically. The logo works because QR codes include built-in error correction: a mathematical redundancy system that allows a portion of the data modules to be obscured or damaged and still decode correctly.
Choosing the Right Error Correction Level
There are four error correction levels: L (7%), M (15%), Q (25%), and H (30%). The percentage indicates how much of the code can be lost and still decoded. For logo overlays, always use level H. This gives you the maximum recovery capacity, which you will need because the logo physically removes modules from the data area.
The trade-off is that higher error correction makes the QR code denser — more modules, smaller grid cells. At small print sizes this can reduce scan reliability because individual modules become very fine. Balance logo size and error correction against the intended print size of the final code. See our dedicated guide on adding a logo to a QR code for size ratio tables.
Logo Overlay: Designer Checklist
Set error correction to H before generating. Changing it after alters the module grid entirely, so the logo position shifts. Always set error correction first, then configure the URL and style.
Keep the logo footprint under 30% of the total QR code area. A square logo occupying 30% of area is roughly 55% of the QR code's side length. Anything larger risks exceeding what error correction level H can recover.
Use a white or light background behind the logo. A logo placed directly over modules without a background can cause ambiguous module reads at the edges. A small white padding around the logo visually and technically separates it from the data area.
Centre the logo precisely. QR code data density is symmetric. An off-centre logo is more likely to obscure critical data regions than a centred one. Most generators handle centring automatically, but verify when placing a logo manually in Illustrator or Figma.
Test with multiple devices after every change. Scan with iPhone Camera, Android camera, and at least one dedicated scanner app. Test at the intended final print size, not just on screen. A code that scans on a backlit Retina display may fail when reproduced in CMYK on uncoated stock.
Built for Designers, Native on Mac
SVG export, exact hex colour input, logo overlay with error correction level H. The Mac app that fits your workflow.
Mac App Workflow for Designers
A native Mac QR generator offers advantages over a browser-based tool for design production work: faster iteration, no upload/download round-trips, native file system access, and macOS colour picker integration. The QR code generator Mac pillar guide covers installation and general usage. This section focuses on the designer-specific workflow.
Hex Colour Input and macOS Colour Picker
The native Mac colour picker (NSColorPanel) lets you enter hex values directly, save brand swatches to a custom palette, and reuse them across sessions. In a designer's Mac workflow, this replaces the generic web colour picker entirely. Set up a named swatch set for each client brand at the start of a project, and colour-accurate QR codes become a single click throughout the campaign.
Batch Generation for Multi-SKU Work
Packaging projects often require individual QR codes for dozens or hundreds of SKUs. A Mac-native generator with batch mode lets you import a CSV of URLs and export a corresponding folder of named SVG files in a single operation. The file naming follows the CSV row order, making it straightforward to match codes to InDesign data merge or Illustrator variables workflows.
Export Directly to Design App Folders
Organise your Mac project folder with an /assets/qr/ subfolder. Export SVGs directly there from the generator. In Illustrator and InDesign, place files using linked placement so that when a URL changes (a redirect is updated, a campaign URL is refreshed), you can replace just the SVG in the assets folder and InDesign relinks automatically on next open.
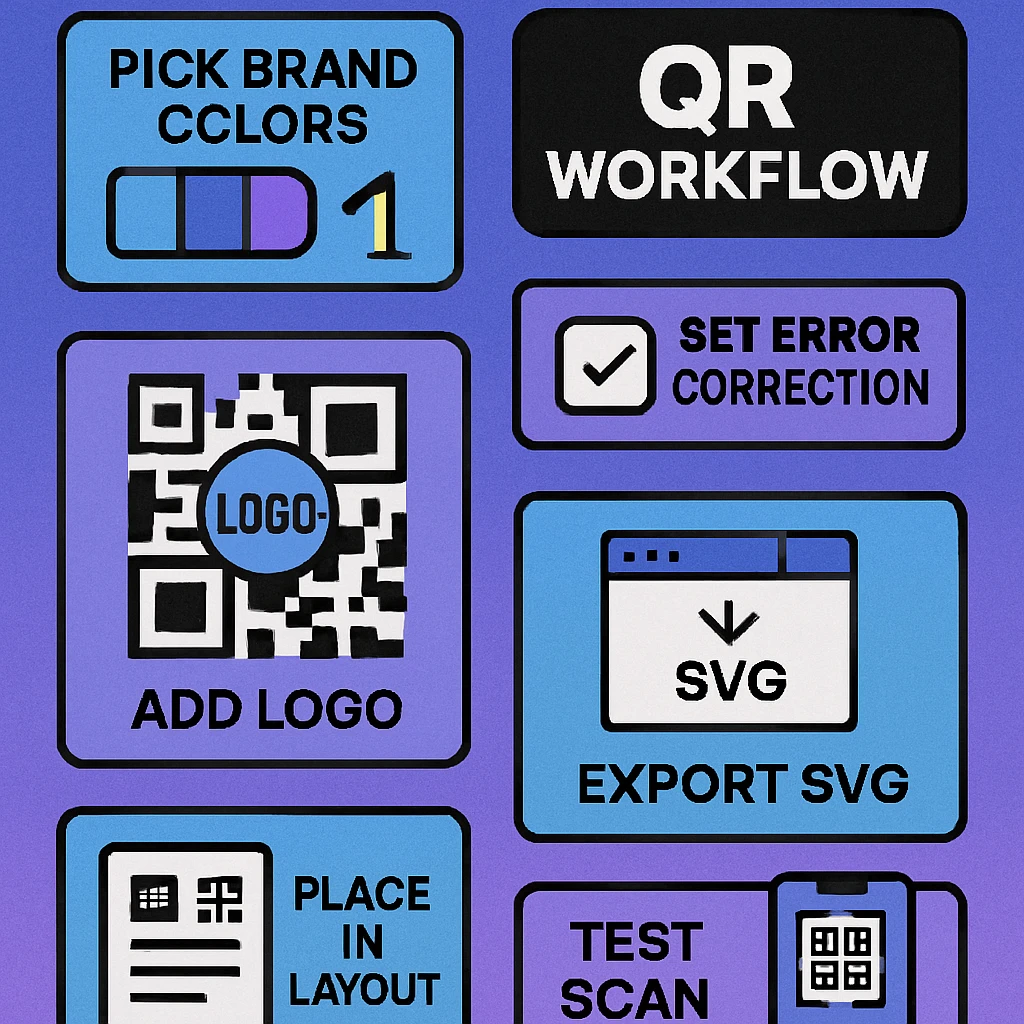
Set error correction to H → enter exact brand hex values → export as SVG → place into Figma, Illustrator, or InDesign → test at final print size. For more on the custom design layer, see the custom QR code design guide.
Frequently Asked Questions
SVG (Scalable Vector Graphics) files are resolution-independent, meaning a QR code exported as SVG can be scaled to any size — from a business card to a billboard — without any loss of sharpness or scan reliability. Raster formats like PNG degrade when enlarged, which can cause blurry module edges and scan failures in large-format print. Figma, Illustrator, and InDesign all accept SVG natively, making it the default choice for professional design workflows.
Use your brand's darkest primary colour for the QR modules and a light neutral (white or light cream) for the background. The contrast ratio between modules and background must be at least 3:1, but 4.5:1 or higher is recommended. Avoid using two saturated or similar-value colours — for example, a dark green on a dark navy background will fail. Test every colour variation by scanning with both an iPhone Camera and Google Lens before finalising.
Always use error correction level H (High) when overlaying a logo. Level H allows up to 30% of the QR code's data modules to be obscured or damaged and still decode correctly. A logo placed in the centre of the code blocks a portion of the data area; without sufficient error correction, this will cause scan failures. Keep the logo footprint to no more than 25–30% of the total code area for reliable results.
Yes. Export your QR code as an SVG from a Mac-native QR generator, then place it in InDesign using File > Place (Cmd+D). InDesign renders placed SVGs as vectors throughout the layout, and they export as true vectors in both PDF and EPS output. This means the QR code will print crisply at any size without pixelation, and the PDF remains fully vector-based for commercial printing.