Why Put QR Codes on Merch?
Branded merchandise has always been a low-cost, high-visibility marketing channel. A t-shirt, tote, or mug that carries your logo travels further than a social media post and stays in circulation far longer. Adding a QR code upgrades a passive branding item into an active engagement tool: every person who sees the merch can instantly visit your website, listen to a playlist, redeem a discount, or follow your social profile — with a single scan.
For a full framework on using QR codes as a marketing channel, see our pillar guide on QR code marketing strategy. This article focuses specifically on the practical challenges of printing codes on physical products that get worn, washed, heated, and handled.
A QR code on merchandise must survive the product's entire lifespan — not just look good on launch day. Plan for washing, stretching, heat, UV exposure, and abrasion from day one, and choose your print method and error correction level accordingly.
Product-by-Product Guide
Different merchandise types present different challenges. The surface texture, print method, and typical use environment each affect how long a QR code will remain scannable and which design choices make sense.
| Product | Recommended Print Method | Min. QR Size | Durability Risk | Error Correction |
|---|---|---|---|---|
| T-Shirt | DTG, screen print, or HTV | 3 cm × 3 cm | Medium | Level H |
| Mug | Sublimation or ceramic decal | 2.5 cm × 2.5 cm | Low | Level Q or H |
| Tote Bag | Screen print or heat transfer | 3 cm × 3 cm | Medium | Level H |
| Sticker | Digital print on vinyl | 2 cm × 2 cm | Low–Medium | Level Q or H |
| Hat / Cap | Printed patch or label | 3 cm × 3 cm on patch | High | Level H |
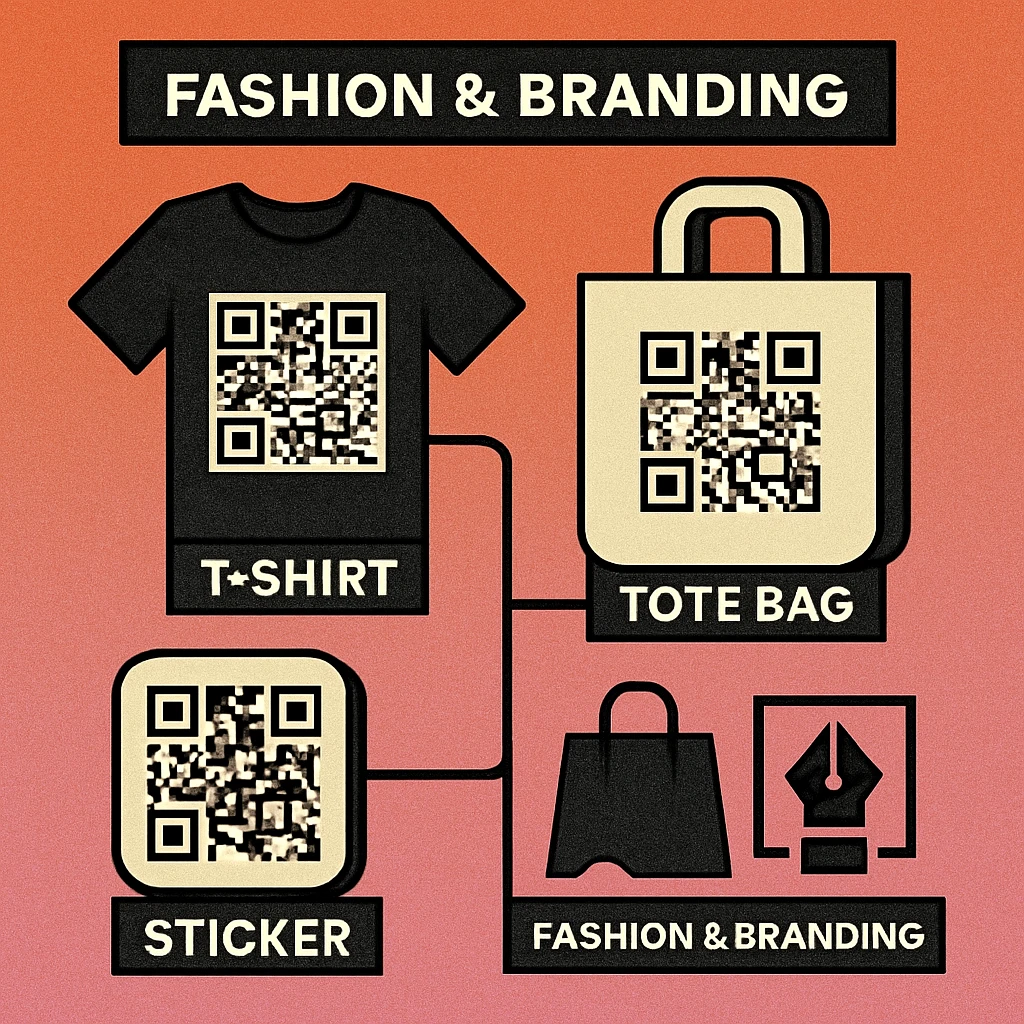
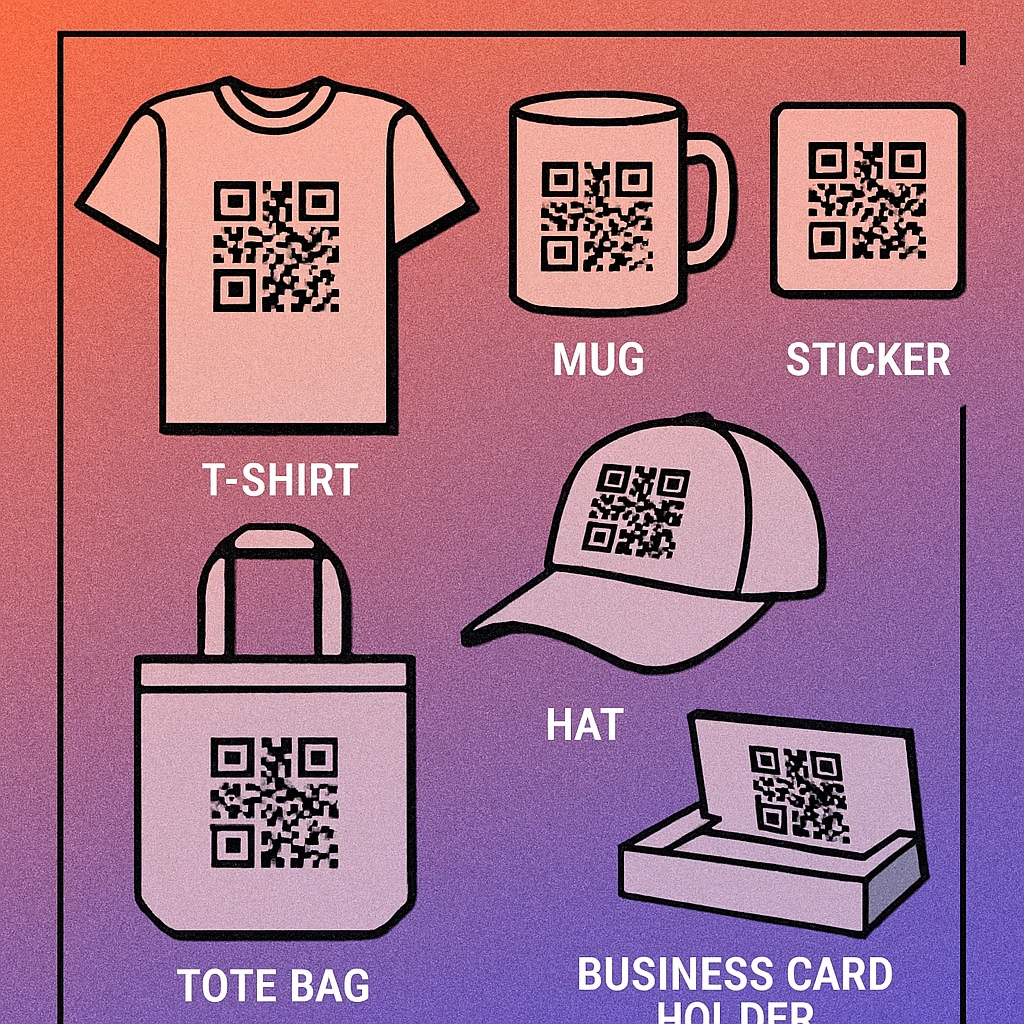
T-Shirts
T-shirts are the most popular QR merchandise item. Direct-to-garment (DTG) printing gives a soft feel and works well for full-colour designs, but the ink sits on top of fabric fibres and can crack or fade after 30–50 washes without a quality pre-treatment and curing process. Screen printing with plastisol ink is more durable for simple two-colour QR codes. Heat-transfer vinyl (HTV) produces the sharpest edges and holds up well, but can peel at corners over time. Place the QR code on a flat, non-seam area of the shirt — across a side seam can distort module geometry enough to break scanning.
Mugs
Ceramic mugs printed via sublimation are one of the most QR-friendly surfaces: the dye bonds into the coating, creating a smooth, flat print with sharp module edges. Dishwasher durability varies by coating quality — hand-wash-only mugs retain QR integrity longer. Because the surface is rigid and smooth, a mug QR code scanned in good light is highly reliable from day one. The main risk is chip damage from impacts; error correction level H protects against a chip obscuring part of the code.
Tote Bags
Canvas and non-woven tote bags present a challenge because the fabric weave creates micro-texture that can soften module edges, especially at small sizes. Screen printing in thick, opaque ink gives the best results. Avoid printing on the bag bottom or heavily folded areas. Ensure maximum contrast — black on natural canvas or white on a dark bag. See our guide on QR code and brand identity for advice on choosing colours that stay on-brand while maintaining scan reliability.
Stickers
Vinyl stickers printed digitally with UV-resistant inks are among the most durable QR merchandise options. Laminated stickers resist scratching and moisture. The main variable is the surface the sticker goes on — a curved bottle or bumper introduces distortion that a flat sticker on a smooth surface avoids. For stickers that will be scanned in unpredictable lighting (outdoor events, car bumpers), use a high-contrast design and error correction level H. Sticker minimum size is lower than fabric products because the print quality is higher, but 2 cm × 2 cm should be treated as the floor.
Hats and Caps
Direct embroidery of a QR code is almost never successful: the needle-and-thread texture makes module edges indistinct and the gaps in stitch coverage confuse scanners. The best approach for hats is a flat-printed woven or twill patch sewn or iron-on attached, or a QR code on a smooth inside label. For structured caps, a flat brim label is a practical placement. Ensure the patch surface is flat when scanned — a curved brim distorts the code.
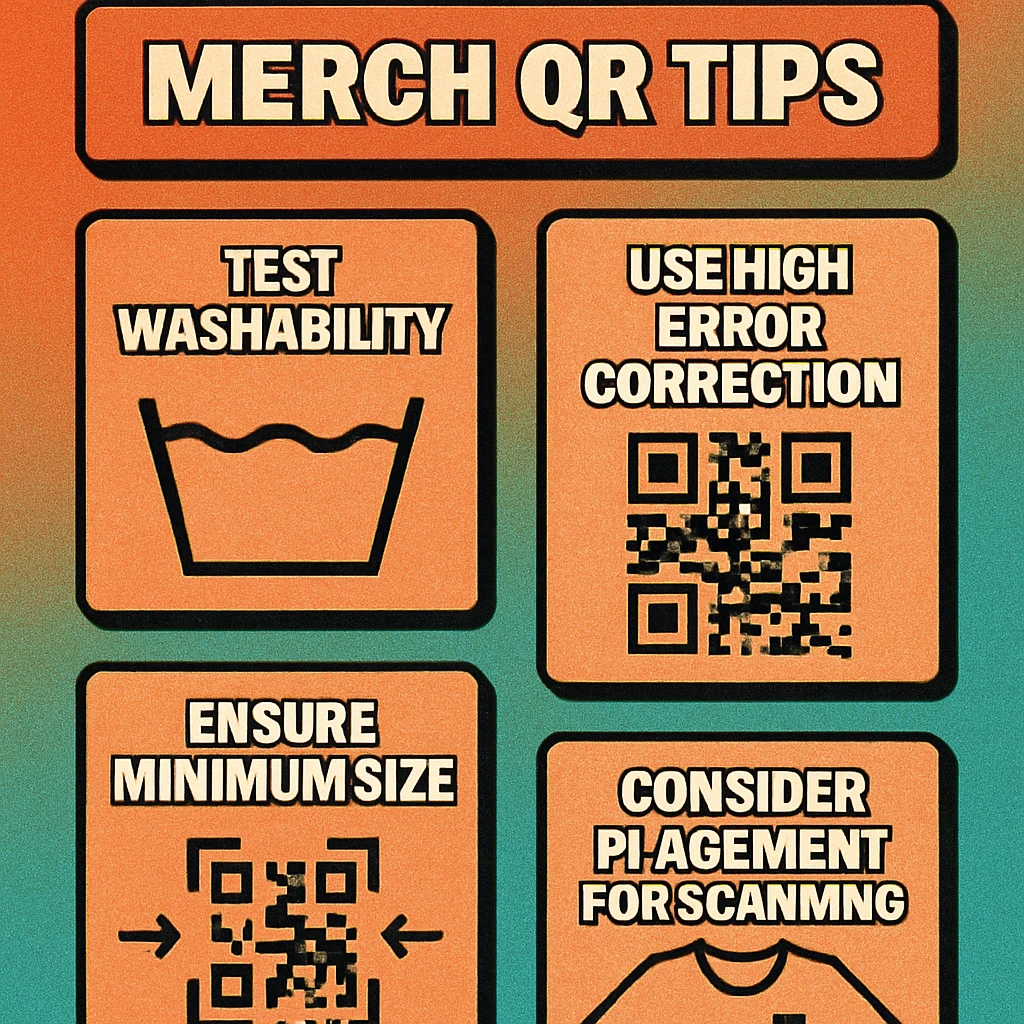
Print Durability & Wash Testing
A QR code that scans perfectly on delivery day but fails after three months of use is a liability, not an asset. Durability testing before committing to a full production run is non-negotiable for any merchandise campaign.
Wash & Durability Test Protocol
Order a sample run. Before ordering 500 t-shirts, order 5–10 samples from your print supplier with the exact file, ink, and substrate you plan to use. Never approve artwork without a physical proof.
Perform a baseline scan test. Scan the QR code on the fresh sample with at least three devices: an iPhone (native Camera app), an Android (Google Lens), and a dedicated QR scanner app. Note the scan speed and reliability at different distances and lighting conditions.
Run the wash cycle test. Wash fabric samples 10, 20, and 30 times under normal conditions (30°C wash, tumble dry) and re-scan after each milestone. Record when scan reliability first degrades. This tells you the functional lifespan of the QR code.
Test extreme conditions. For items likely to see hard use — tote bags, outdoor merchandise, event giveaways — expose a sample to direct sunlight for several days and test scan again. UV fading affects colour contrast, which directly impacts scan reliability.
Use a dynamic QR code URL. If scan performance degrades before the product's marketing lifespan ends, a dynamic QR code lets you redirect the destination URL without reprinting. See our guide on QR code marketing strategy for how dynamic codes fit into a campaign plan.
Error Correction for Textured Surfaces
QR codes have four error correction levels: L (7% recovery), M (15% recovery), Q (25% recovery), and H (30% recovery). For merchandise, the choice is almost always H. Here is why.
Textured surfaces — fabric weave on a tote bag, glaze variation on a ceramic mug, the micro-roughness of a canvas print — introduce visual noise at the module level. Individual modules may look slightly blurred or uneven compared to a flat digital screen. Error correction level H means the scanner can reconstruct the full data even when up to 30% of the code area is degraded, dirty, or obscured. On a t-shirt that has been through 20 washes, that tolerance is the difference between a working code and a dead one.
Higher error correction makes the QR code slightly more complex (more modules), which means it needs to be printed at a slightly larger size to remain scannable. This is a good trade-off for merchandise: a slightly bigger, higher-tolerance code is far better than a small code that fails after a few uses.
For the technical details of how resolution and DPI affect print quality, including merchandise applications, read our full guide on QR code print resolution and DPI.
Generate a Print-Ready Merchandise QR Code
Set error correction level H, choose your size, and export a high-res PNG or vector SVG — free, no account needed.
Size Guidelines for Merchandise QR Codes
Minimum size recommendations for merchandise QR codes are larger than for standard print applications because of the combination of surface texture, print method softness, and the typical scanning distance. Use these as starting points, then adjust based on your sample testing.
| Product | Min. Recommended Size | Ideal Size | Max Scan Distance |
|---|---|---|---|
| T-Shirt (front/back) | 3 cm × 3 cm | 5–8 cm × 5–8 cm | ~30 cm |
| Mug (wrap print) | 2.5 cm × 2.5 cm | 4–5 cm × 4–5 cm | ~25 cm |
| Tote Bag | 3 cm × 3 cm | 6–10 cm × 6–10 cm | ~40 cm |
| Sticker (smooth vinyl) | 2 cm × 2 cm | 3–5 cm × 3–5 cm | ~20 cm |
| Hat (patch) | 3 cm × 3 cm | 4–5 cm × 4–5 cm | ~30 cm |
Sizing is closely linked to the print resolution of your source file. For merchandise, export your QR code at a minimum of 600 DPI at print size, and use an SVG or PDF for vector-based production where the printer can scale without loss. Our detailed guide on QR code print resolution and DPI explains exactly how to prepare print-ready files for different merchandise production methods.
Pro Tips for Merch QR Codes
- Use a short, memorable URL. If the destination URL is long and complex, the QR code needs more modules, making it harder to print cleanly at small sizes. A custom short URL or branded domain keeps the code compact and the destination brandable.
- Keep quiet zones generous. The blank border around a QR code must be at least four module widths wide. On merchandise, increase this to six module widths if space allows — stitching, seams, and edges can encroach on the quiet zone in production.
- Match the QR to your visual identity. A well-designed QR code that uses brand colours and a clean layout increases scan rates because it looks intentional rather than like an afterthought. Read our article on QR code and brand identity for practical guidance on integrating codes into a brand system.
- Add a call-to-action near the code. "Scan for 10% off", "Scan to hear the story", or "Scan to follow us" tells the holder what they get and dramatically increases the likelihood of a scan. A naked QR code with no context is frequently ignored.
- Track scans with a dynamic code. Dynamic QR codes let you see how many scans your merchandise generates, which items perform best, and when engagement peaks. This data feeds directly into future merch and campaign decisions — covered in our QR code marketing strategy guide.
- Test the final product, not just the artwork. Always scan the physical printed item, not the design file on screen. Print process, substrate texture, and real-world lighting all affect scan reliability in ways that a digital preview cannot reveal.
Use error correction level H on all merchandise. Size up from standard minimums to account for surface texture. Test wash and durability on physical samples before a production run. Use dynamic QR codes so you can update destinations and track performance without reprinting. Match the QR code design to your brand for higher scan rates.
Frequently Asked Questions
For a t-shirt or other wearable, the QR code should be at least 3 cm × 3 cm (roughly 1.2 inches square) when printed. Larger is always safer: a 4–5 cm code gives scanners more detail to work with, especially after washing has softened edges. Avoid placing the code in areas that stretch significantly, such as directly across chest seams, as distortion can break scan reliability.
It depends on the print method. Direct-to-garment (DTG) and screen-printed QR codes with a soft-hand finish can fade after repeated washes, degrading scan quality over time. Heat-transfer vinyl (HTV) printed codes are more durable but can crack after many cycles. Using error correction level H gives the code up to 30% damage tolerance, which significantly extends functional life after fading begins. Always wash-test a sample before a large production run.
Use error correction level H for all physical merchandise. Level H allows up to 30% of the code to be unreadable or damaged and still decode correctly. This is essential for textured surfaces like canvas totes, embroidered fabrics, or ceramic mugs with glaze variations. For stickers on smooth surfaces, level Q (25% recovery) is a reasonable minimum, but H is still recommended for longevity.
Embroidery introduces too much texture and stitch-gap variation for a standard QR code to scan reliably. Instead, use a woven or printed patch attached to the hat, or place the QR code on a smooth label inside the brim. If the hat design requires a visible code, a printed iron-on patch on a smooth backing material is the most reliable approach. Always use error correction level H and test scan the finished item.